How to use React (and Redux) with your crufty old CMS
There are a lot of React (and Redux) tutorials on the web. And that’s a good thing. But most of them make an assumption. They assume you’re creating a single-page web application (SPA). It’s not a bad assumption. But it doesn’t always hold true. Sometimes, you might be building on top of a Content Management System (CMS). And a CMS implies pages. If you want to use React in that scenario, what do you do?
Of course, SPAs are the (not so) new hotness. But CMSs still power a large part of the web. Platforms like Wordpress and Drupal account for almost a third of all websites.1 That is a lot of websites. And maybe not all of them need something like React. Perhaps most are simple blogs and brochure-ware sites. And they don’t need a fancy library like React. They’d be fine with sprinkling a little bit of jQuery here and there. And perhaps that’s the case for most sites. But not all sites.
If you think about it, CMSs give you a lot of functionality for ‘free.’ They’ve been around a long time, and their authors have already solved a myriad of common problems. Things like user account management, access control, and authoring interfaces. CMSs have had this stuff nailed for decades. So, using a CMS to bootstrap an application that needs these things can be a sensible idea. But, a CMS also implies good ol’ fashioned pages. And the trouble with pages in a CMS is that we don’t necessarily know ahead of time what’s going to be on them (unlike an SPA). There might be accordions there, or tabs, or image galleries… Who knows? We can’t just stick everything inside a monolithic <App> component and be done with it. If you happen to have a complex app built on a CMS, then using React (and Redux) can be difficult. You need some way to tell your JS application which React components to run on each page.
Warning: The rest of this article assumes a lot of functional programming concepts that I’ve covered in ‘A Gentle Introduction to Functional Programming’ and ‘The Marvellously Mysterious JavaScript Maybe Monad.’ I recommend reading those first, or, one of the wonderful books by Brian Lonsdorf, Reg Braithwaite or Kyle Simpson.
Playing to Strengths—Working with HTML
One thing that CMSs ought to do well, is putting HTML on a page.2 So if we can find a way for us to specify in the HTML which components to initialise, then we should be all set. And as it happens, HTML has a mechanism for this sort of thing, built-in. To add machine-readable data to elements, we use Data Attributes.
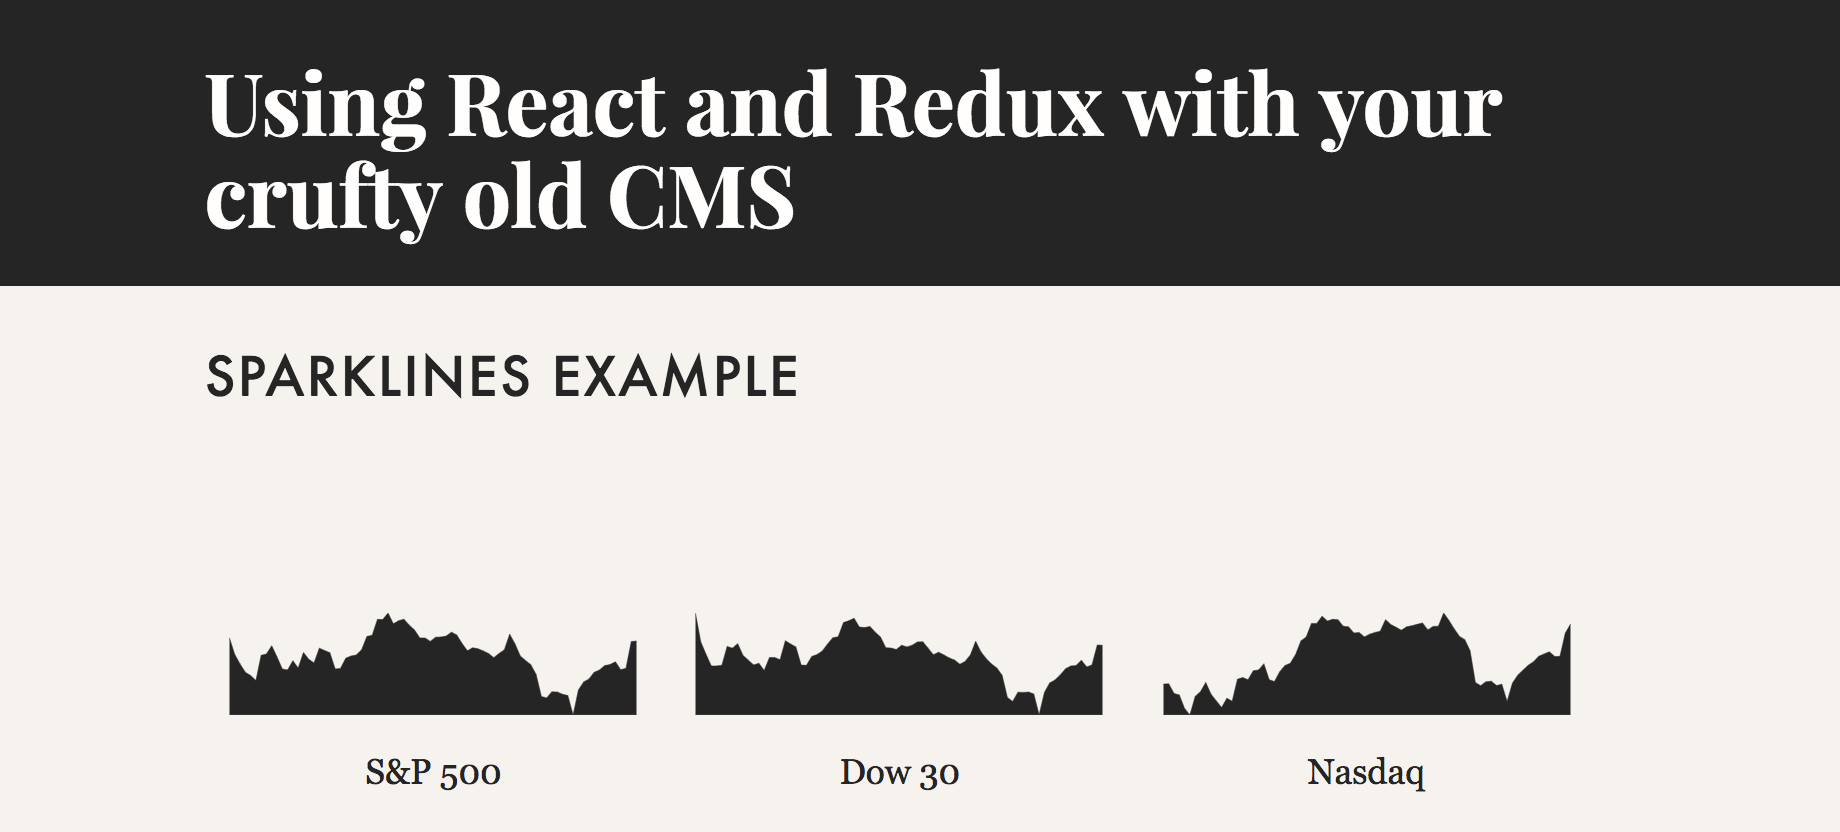
An example application

Before we dive into the details, let’s make this a bit more concrete. Let’s imagine we’re building some kind of finance site. Among other things, one feature of this site is a row of spark charts, like you might see on Yahoo! Finance. We’ll leave out the details of implementing the chart,3 and focus on how we get our React components into the page. In other words, we’ll assume we already have a SparkLineContainer component. Our challenge is to get that component rendering on our page in the right spot.
We start with the HTML. Of course, because we’re good web citizens, we’ll start with accessible, semantic markup. Then we’ll progressively enhance our sparklines with CSS and Javascript. The HTML from our CMS might look something like this:
<ul class="SparklineList">
<li class="Sparkline">
<dl>
<dt>Name:</dt><dd class="Sparkline-title">S&P 500</dd>
<dt>Quote:</dt><dd class="Sparkline-quote">2,724.01</dd>
<dt>Change:</dt><dd class="Sparkline-change">+34.15</dd>
<dt>Percentage change:</dt><dd class="Sparkline-pChange">(+1.27%)</dd>
</dl>
</li>
<li class="Sparkline">
<dl>
<dt>Name:</dt><dd class="Sparkline-title">Dow 30</dd>
<dt>Quote:</dt><dd class="Sparkline-quote">2,4667.78</dd>
<dt>Change:</dt><dd class="Sparkline-change">+306.33</dd>
<dt>Percentage change:</dt><dd class="Sparkline-pChange">(+1.26%)</dd>
</dl>
</li>
<li class="Sparkline">
<dl>
<dt>Name:</dt><dd class="Sparkline-title">Nasdaq</dd>
<dt>Quote:</dt><dd class="Sparkline-quote">7,462.45</dd>
<dt>Change:</dt><dd class="Sparkline-change">+65.86</dd>
<dt>Percentage change:</dt><dd class="Sparkline-pChange">(+0.89%)</dd>
</dl>
</li>
</ul>
Nothing terribly surprising here. We can use CSS to hide the <dt> elements4 and format the other bits as necessary. And if there’s no JS available, then we’re still showing something useful.
The next thing we’ll do is add in the data attributes.
<ul class="SparklineList" data-r-component="SparkLineContainer">
  <li class="Sparkline">
     <!-- Inner details hidden for brevity -->
  </li>
  <li class="Sparkline" data-r-component="SparkLineContainer">
      <!-- Inner details hidden for brevity -->
  </li>
  <li class="Sparkline" data-r-component="SparkLineContainer">
      <!-- Inner details hidden for brevity -->
  </li>
</ul>
Note that we’ve given our data attribute a prefix of r-. This helps us avoid conflicts with other libraries. We may not be the only ones using data attributes. With this in place, we now have enough information to know which React component to render. So far so good. But, we’ll want each component to render a chart for a different ticker. So, it would be nice if we could pass props to our component. So, we’ll create a pattern that will let us scan for data attributes that should be props. For our ticker symbol, we’ll use data-r-prop-symbol. And we’ll pass a title for the chart as data-r-prop-title.
<ul class="SparklineList">
<li
class="Sparkline"
data-r-component="SparkLineContainer"
data-r-prop-symbol="^GSPC"
data-r-prop-title="S&apm;P 500"
>
<!-- Inner details hidden for brevity -->
</li>
<li
class="Sparkline"
data-r-component="SparkLineContainer"
data-r-prop-symbol="^DJI"
data-r-prop-title="Dow 30"
>
<!-- Inner details hidden for brevity -->
</li>
<li
class="Sparkline"
data-r-component="SparkLineContainer"
data-r-prop-symbol="^IXIC"
data-r-prop-title="Nasdaq"
>
<!-- Inner details hidden for brevity -->
</li>
</ul>
Hydrating with JavaScript
All the relevant information is in the HTML now. But we need some way to get it out. This calls for some JavaScript. The first thing we’ll do is create a function. It will grab all the elements on the page that have that data-r-component attribute. But, we’re functional programmers around here. And functional programmers don’t like writing impure code. So we wrap the result in an Effect functor. All the Effect functor does is delay code from executing by wrapping it in a function. You can read all about it in Professor Frisby’s Mostly Adequate Guide, where it goes by the name ‘IO.’
// getComponentElements :: () -> Effect [HTMLElement]
function getComponentElements() {
    return Effect.of(document)
        .map(doc => doc.querySelectorAll('[data-r-component'))
        .map(Array.from);
}
That gives us an array that contains all the HTML elements we want to hydrate. Note that we use Array.from to convert the NodeList that querySelectorAll() returns. This is because we don’t need a live collection that is always up-to-date. And arrays have a bunch of built-in methods that make them easier to work with.
So, we have a bunch of HTML elements. We’ll want to extract the data attributes from them. Fortunately, the dataset DOM interface makes this reasonably easy. For our first sparkline element, we’d get something like this:
{
    "rComponent":  "SparkLine",
    "rPropSymbol": "^GSPC"
}
Now we have a bunch of dataset objects. We want to transform those into React elements. We’ll need to convert the data into something that’s easy to pass to React.createElement(). That is, we want to split the props out from the component name. It might look something like this:
// lowerFirst :: String -> String
function lowerFirst([first, ...rest]) {
    return first.toLowerCase() + rest.join('');
}

// transformData :: Object -> Object
function transformDataset(ds) {
    const propFilter = /^rProp/;
    const props = Object.keys(ds)
        .filter(key => propFilter.test(key))
        .reduce((obj, key) => {
            const newKey = lowerFirst(key.replace(propFilter, ''));
            return {...obj, [newKey]: ds[key]};
        }, {});
    return {
        component: ds.rComponent,
        props:     props
    }
}
That gives us all the information we need to run React.createElement(). But there’s a small issue here. We have the component name as a string. Unfortunately, React.createElement() needs the actual component. And embarassingly, I haven’t been able to come up with an elegant way to do this without using eval. And that would be stupefyingly dangerous in this scenario.5 So, the solution I have at the moment is to create a whitelist object. It contains all the top-level React components that we will allow to be initialised. Then we look up the components using that object.
import SparkLineContainer from 'path/to/SparkLineContainer';

// Our whitelist of allowed components.
const whitelist = {
    SparkLineContainer,
};

// createElementFromObject :: Object -> ReactElement
function createElementFromObject(whitelist) {
    return function createElementFromObjectWith({component, props}) {
        // For the moment we will ignore what happens if someone tries to
        // initialise a component that is not in the whitelist. In
        // production code we would print a console warning saying that
        // the component can't be initialised, and filter it out.
        return React.createElement(whitelist[component], props);
    }
}
We have our React element now. But it’s not enough to run ReactDom.render(). For that, we need a reference to the element we want to replace. And we need it at the same time we need our React element. So, we want something like this:
// getDOMAndREactEl :: HTMLElement -> Object
function getDOMAndReactEl(el) {
    return {
        reactEl: createElementFromObject(transformDataset(el.dataset)),
        domEl:   el,
    };
}
Once we have those pieces, then it’s relatively easy to render:
// hydrateEl :: Object -> Effect ()
function hydrateEl({reactEl, domEl}) {
    return new Effect(() => ReactDOM.render(reactEl, domEl));
}
Putting that all together we get:
// hydrateAll :: () -> Effect [Effect ()]
function hydrateAll() {
    getComponentElements()
       .map(elements => elements.map(getDOMAndReactEl))
       .map(objs => objs.map(hydrateEl))
}
We end up with an Effect of an array of Effects. Which is a bit awkward. What we want is a single Effect that will hydrate everything when we call .runEffects(). To do that, we need to perform a manoeuvre called ‘traversal’.6 And it’s a bit mind-bending. In essence, we’ll swap an array of Effect for an Effect of an array. It’s similar to the way Promise.all() takes an array of Promises and returns a Promise for an array. To make it work, we create a reducer that will allow us to combine the Effects.
// concat :: [a] -> a -> [a]
function concat(arr) {
    return function appendItem(item) {
        return arr.concat(item);
    }
}

// traverseIOReducer :: Effect [a] -> Effect a -> Effect [a]
function traverseIOReducer(arrIO, opIO) {
    return opIO.ap(arrIO.map(concat));
}
With that in place, our hydrateAll() function becomes:
// hydrateAll :: () -> Effect [()]
function hydrateAll() {
    getComponentElements()
       .map(elements => elements.map(getDOMAndReactEl))
       .map(objs => objs.map(hydrateEl))
       .chain(effs => effs.reduce(traverseIOReducer, Effect.of([])));
}
Don’t worry too much if the traversal stuff doesn’t make a lot of sense. In the end, what it does is provide us with one big red button to push:
const io = hydrateAll();
io.runEffects();
So, we now have a way of injecting React components into a page where we specify their data using only HTML. This gives us the flexibility to work with a CMS. And, if we want to be particularly clever, it wouldn’t take much to lazy-load our components with Webpack. But what if we want to use Redux as well? Can this approach still work? The short answer is ‘yes’.
Hydrating Redux
Adding in Redux makes our task more complicated. Each top-level container component needs access to the Redux store. The Redux documentation recommends using the magic <Provider> component to do this. And if you are building an SPA, that is a good idea. But for our purposes, it’s a lot of overhead. Instead, we will pass in the store directly as a prop. To do that, we’ll write another function. It will add the Redux store to the props element that comes out of transformDataset():
// addStoreToProps :: ReduxStore -> Object -> Object
function addStoreToProps(store) {
    return function addStore(obj) {
        // Unfortunately this is a bit messy because I'm trying not to
        // mutate objects. The code could be made much cleaner using
        // something like Lodash/FP or Ramda. If we were OK with mutation
        // we'd just write: obj.props.store = store; return obj;
        return {...obj, props: {...obj.props, store}};
    }
}
With that done, we need to modify our getDOMAndReactEl() function to pass through the store:
// getDOMAndReactEl :: ReduxStore -> <abbr title="Hypertext markup language">HTML</abbr>Element -> Object
function getDOMAndReactEl(store) {
    return function getDOMAndReactElWithStore(el) {
        return {
            reactEl: createElementFromObject(addStoreToProps(store)(transformDataset(el.dataset))),
            domEl:   el,
        };
    }
}
This works fine, but that line where we create the React element is starting to look a bit hairy. If we make use of compose, then it’s easy to tidy it up into its own function:
function elToReact(store) {
    return compose(
        createElementFromObject,
        addStoreToProps(store),
        transformDataset,
        el => el.dataset,
    );
}
Our getDOMAndReactEl() function then looks a lot nicer:
// getDOMAndReactEl :: ReduxStore -> HTMLElement -> Object
function getDOMAndReactEl(store) {
    return function getDOMAndReactElWithStore(el) {
        return {reactEl: elToReact(store)(el), domEl: el};
    }
}
Finally, we need to modify our top-level code to create the store:
// hydrateAll :: ReduxStore -> Effect [()]
function hydrateAll(store) {
    return getComponentElements()
        .map(els => els.map(getDOMAndReactEl(store)))
        .map(objs => objs.map(hydrateEl))
        .chain(effs => effs.reduce(traverseIOReducer, Effect.of([])));
}

const store = createStore(/* reducers go here */);
const io = hydrateAll(store);
io.runEffects();
But what about Reducers?
All our container components have access to the global Redux store now. But, the store isn’t much good without reducers. Now, if we combined all our reducers for every single component at once, then we could pass that straight into the store. But it seems a waste to include every single reducer for every component we might need. It would be nice if we could build our reducer dynamically, based on what’s in the HTML. This is totally achievable. But, we have to make some decisions about how our modules are structured. Otherwise, things would quickly become a mess. So, here’s a few quick notes about how I write React/Redux modules:
- Components are divided into container components and presentation components. This is nothing different from the recommended approach in the Redux documentation.
- Presentation components are mostly stateless functional components. If I need lifecycle methods, then I usually specify them in the container component. I use
react-pure-lifecycleto make that possible. This keeps presentation components as ‘dumb’ as possible. - Container components use the
connect()function fromreact-redux. They definemapStateToProps()andmapDispatchToProps()as appropriate for that component. Again, this is nothing different from the recommended approach in the Redux documentation. - Container components also contain the reducers (and action generators) for that component. This is different from the examples in the Redux documentation. But I think it makes more sense. All the functionality of this module is in one place.
So, if you happen to write modules the way I do… And you want to dynamically build reducers… Then you need some way to export and combine your reducers. I do this by exploiting JavaScript’s permissive object system. At the end of each container component file, I just make the reducer a property of the React component. For example:
const sparkLineReducer = function() {
    /* Reducer code goes here */
}

// Definitions for mapStateToProps() and mapDispatchToProps() go here

const SparkLineContainer = connect(mapStateToProps, mapDispatchToProps);
SparkLineContainer.reducers = {SparkLineContainer: sparkLineReducer}
If we build React components this way, then the reducer is included when we import the module. And as it so happens, all the required reducers are sitting in the whitelist object from earlier. All we need to do now is extract the reducers and combine them with combineReducers().
// intersection :: [a] -> [a] -> [a]
function intersection(array1) {
    return function intersectionWith(array2) {
        array1.filter(value => (-1 !== array2.indexOf(value)));
    }
}

// filterObject :: Object -> [String] -> Object
function filterObject(obj) {
    return function filterObjectWith(allowed) {
        return allowed.reduce(
            (o, name) => ({...o, [name]: obj[name]}),
            {},
        );
    }
}

// pluckReducers :: Object -> Object
function pluckReducers(componentList) {
    return Object.values(componentList).reduce(
        (r, val) => ({...r, ...val.reducers}),
        {}
    );
}

// pluckComponentNames :: [HTMLElement] -> [String]
function pluckComponentNames(els) {
    return els.map(function(el) { return el.dataset.rComponent});
}

// extractReducers :: Object -> Effect Function
function extractReducers(whitelist) {
    // buildReducer :: [HTMLElement] -> Function
    const buildReducer = compose(
        combineReducers,
        pluckReducers,
        filterObject(whitelist),
        intersection(Object.keys(whitelist)),
        pluckComponentNames,
    );
    return getComponentElements().map(buildReducer);
}
Then we add the reducer-creating code to the top level. Note that extractReducers() returns an Effect, so we use .map() and .chain() to work with the eventual value:
const reducers = extractReducers(whitelist);
const store = reducers.map(createStore);
const io = store.chain(hydrateAll); // Note .chain() instead of .map()
io.runEffects();
And we’re done. We now have a way to combine only the reducers we need on any given page. And, we can initialise arbitrary React components with full access to the Redux store.
You can see a demonstration of all this code working together in a CodePen.
Taking it further
We’ve only covered the general gist of this idea. There’s a lot more you can do with it. Some things I have implemented in production code and only skipped over them here for brevity. Others, I would like to do but haven’t found the time. Some ideas include:
Properly typing properties
The code presented here passes all props through as strings. But if you’re using prop-types with your React components (as you should be), this will cause some issues. One way to work around this is to try to parse each data prop as if it were JSON. Something like this:
function parseProp(strProp) {
    try {
        return JSON.parse(strProp);
    } catch (_) {
        return strProp;
    }
}
That way you would have the benefit of being able to pass in JSON objects if you wanted to. Note that all your double-quotes will need to be escaped as &dquo; though.
Asynchronous Component Loading
This approach opens up the option of lazy-loading modules asynchronously. The details are beyond the scope of this article. But let’s assume you have some modules that are better loaded only when needed. It’s not too much work to put an asynchronous wrapper around them. Then the browser only downloads the code when needed.
Better error handling
As mentioned before, we’ve skipped over a lot of error handling here. This was to avoid getting bogged down in details. But in production, my team uses the Either functor to capture bogus stuff. And we make a point of ensuring that we print helpful error messages to the console so we can tell what’s going on.
Pass in inner HTML as a prop
Finally, recall that we used semantic HTML in our initial markup. What’s good for screen-readers is good for us too. If we want to, we can pass that inner HTML as a prop to the component. Then we can parse it and build React components that respond to the HTML coming out of your CMS. This is particularly useful for building things like accordions and tab sets.
Credit where credit is due
When I first came up with this idea back in 2016,7 I thought I was so clever. I had never seen this idea of using data elements to pass data to JS modules anywhere else before. I thought I’d come up with something new and innovative. But, it turns out Rik Schennink already had the same idea, roughly around the same time. And he went to the trouble of turning it into an open-source library called Conditioner. So he deserves all the credit for it.